7 Best Practices for Kitchen Utensil Storage
Share
You'll streamline your kitchen workflow by designating homes for utensils, utilizing vertical storage space, and grouping similar items together. Implement a 'first in, first out' rule to reduce clutter, and keep frequently used items accessible. Label and sign utensil containers for easy identification, and store heavy items below countertops. By following these best practices, you'll create a functional and organized kitchen. As you start implementing these strategies, you'll discover even more ways to optimize your utensil storage and take your kitchen's efficiency to the next level.
Key Takeaways
• Designate specific spots for utensils and create zones for baking, cooking, and serving utensils to maintain organization.
• Maximize kitchen storage by utilizing vertical space with magnetic strips, ceiling hooks, and wall-mounted shelves.
• Group utensils into categories like baking, cooking, and serving, and sort them by tool type to reduce clutter and improve findability.
• Implement a 'first in, first out' rule to prevent clutter and ensure oldest utensils are used first, with regular inventory updates and cleaning.
• Store frequently used utensils in easy-to-reach locations, designating specific zones for quick access and efficient meal prep.
Assign a Home for Utensils
Assign a Home for Utensils
Designate a specific spot in your kitchen where each utensil will live, making it easier to find what you need when you need it. This approach helps maintain organization and streamlines your cooking process.
Create Utensil Zones by categorizing utensils into groups, such as baking, cooking, and serving. Within each zone, assign a designated station for each utensil. For instance, designate a specific drawer or container for your baking utensils, and another for your cooking utensils.
Utilize Vertical Storage Space
You can maximize your kitchen's storage capacity by making the most of its vertical space, which is often underutilized. By using wall-mounted storage solutions, you can free up counter and cabinet space, keeping your kitchen organized and clutter-free.
Here are some effective ways to utilize vertical storage space:
-
Install magnetic strips to store metal utensils, such as knives, spices, or oils, keeping them within easy reach.
-
Hang ceiling hooks to store infrequently used items like special occasion dishes, pots, or pans, keeping them out of the way but still accessible.
-
Use wall-mounted shelves or racks to store cookbooks, utensils, or appliances, keeping them organized and easy to find.
- Invest in a pegboard and hang it on a wall or the back of a door to store utensils, baskets, or other kitchen tools, making the most of your kitchen's vertical space.
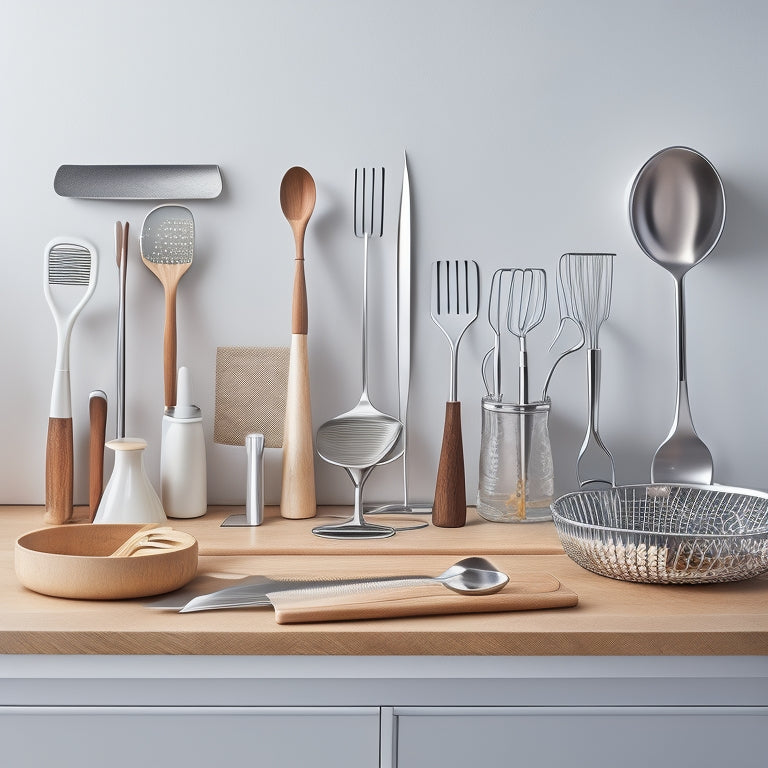
Group Similar Items Together
When you group similar items together, you'll find it's easier to locate what you need in a snap.
You'll want to sort your utensils into categories, like baking or cooking, and then separate them further by tool type, such as spatulas or whisks.
Utensil Category Sorting
Sort utensils into categories, like baking, cooking, or serving, to create a logical and functional storage system that makes sense to you. This approach, known as Utensil Categorization, helps you prioritize your storage needs and guarantees that similar items are stored together.
By grouping similar items, you'll reduce clutter and make it easier to find what you need when you need it.
Here are some examples of utensil categories you can create:
-
Baking Utensils: Whisks, spatulas, pastry brushes, and cake testers
-
Cooking Utensils: Spatulas, tongs, wooden spoons, and slotted spoons
-
Serving Utensils: Serving spoons, spatulas, and pastry forks
- Miscellaneous Utensils: Garlic presses, lemon squeezers, and egg separators
When creating your categories, consider your cooking habits and the types of utensils you use most frequently. This will help you prioritize your storage and make sure that your most-used items are easily accessible.
Tool Type Segregation
Tool Type Segregation
How do similar tools, like spoons or spatulas, end up scattered throughout your kitchen, making it difficult to find the one you need in a pinch? It's time to group similar items together, a practice known as tool type segregation. This approach helps you quickly locate the utensil you need, reducing kitchen chaos.
| Utensil Type | Storage Considerations |
|---|---|
| Spatulas | Store by handle material (e.g., silicone, wood, metal) and edge orientation (e.g., flat, angled) |
| Whisks | Organize by wire thickness and handle length |
| Spoons | Group by material (e.g., stainless steel, wooden) and size (e.g., tablespoon, teaspoon) |
Implement a "First In, First Out" Rule
Establish a system where you consistently use the oldest utensils first to prevent clutter and make sure that your kitchen remains organized. This 'first in, first out' rule helps guarantee that expired or worn-out utensils don't get lost in the back of your drawers or on your countertops.
To implement this rule effectively, follow these tips:
-
Check expiration dates on utensils with perishable materials, like wooden or plastic items, and replace them as needed.
-
Keep an inventory of your utensils and update it every time you add or remove an item.
-
Store utensils in a way that makes the oldest ones easily accessible, such as in front of newer ones or in a designated 'use first' section.
- Regularly clean and inspect your utensils to identify any that need to be replaced or repaired.
Keep Frequently Used Items Accessible
Maintain your most-used utensils in easy-to-reach locations, like the top drawer or near the cooking station, to save time and energy during meal prep. This way, you'll avoid unnecessary digging and scrambling for the utensils you need.
By designating specific utensil zones, you can guarantee that your frequently used items are always within easy reach. For instance, store your most-used cooking utensils, such as spatulas and tongs, near the stove or cooktop. This allows you to quickly grab what you need without interrupting your cooking flow.
Designate a specific zone for your utensils based on their function or frequency of use. For example, create a baking zone with utensils like whisks, measuring cups, and spatulas. This organization system enables you to access what you need quickly and efficiently, making meal prep a breeze.
Label and Sign Utensil Containers
Now that you've designated specific zones for your utensils, take it a step further by labeling and signing each container so you can quickly identify what's inside without having to dig through them.
This simple step will save you time and frustration in the long run.
Here are some tips to make your labels effective:
-
Use clear and concise language to describe the contents of each container.
-
Incorporate utensil icons to visually identify the types of utensils stored inside.
-
Implement color coding by using different colored labels or stickers to categorize your utensils (e.g., baking utensils in blue, cooking utensils in red).
- Keep labels consistent throughout your kitchen to create a sense of organization and harmony.
Store Heavy Items Below Countertops
You'll free up valuable counter space and reduce clutter by storing your heaviest kitchen items, like stand mixers and large appliances, below countertops where they're easily accessible but out of the way. This approach not only declutters your countertops but also protects your floors from scratches and dents. Make sure to place a non-slip mat or a silicone floor protector under the stored items to prevent them from sliding or scratching the floor.
When storing heavy items below countertops, consider optimizing the corner spaces by using corner shelves or carousels. These can hold items like slow cookers, blenders, or food processors, keeping them organized and easily accessible. This corner optimization will help you make the most of the often-wasted space in your kitchen.
Frequently Asked Questions
Can I Store Utensils in a Drawer With a Moisture Issue?
'Are you risking a breeding ground for bacteria by storing utensils in a damp drawer? You can, but make sure you're prepared to combat moisture with moisture-absorbing materials and drawer liners to keep your utensils dry and clean.'
How Often Should I Clean and Sanitize Utensil Storage?
You should clean and sanitize your utensil storage regularly to prevent utensil bacteria growth. Aim for a weekly storage schedule to wipe down surfaces and sanitize compartments to keep your utensils hygienic and ready for use.
Are There Specific Utensils That Shouldn't Be Stored Together?
You're probably storing utensils wrong: 80% of kitchen utensils are stored incorrectly! When storing utensils, you shouldn't mix metals with non-metals to prevent corrosion. Also, consider shape compatibility, like storing long utensils together to maximize space.
Can I Use Adhesive Hooks to Hang Utensils on the Wall?
You can use adhesive hooks to hang utensils on the wall, but consider hook placement and utensil weight - heavy items like pots and pans may require reinforced hooks or alternative storage solutions.
How Do I Prevent Utensil Storage From Looking Cluttered?
"Did you know 72% of homeowners desire a clutter-free kitchen? To prevent utensil storage from looking cluttered, you'll organize your space with divided compartments and curate an aesthetic arrangement, ensuring a visually pleasing and functional kitchen."