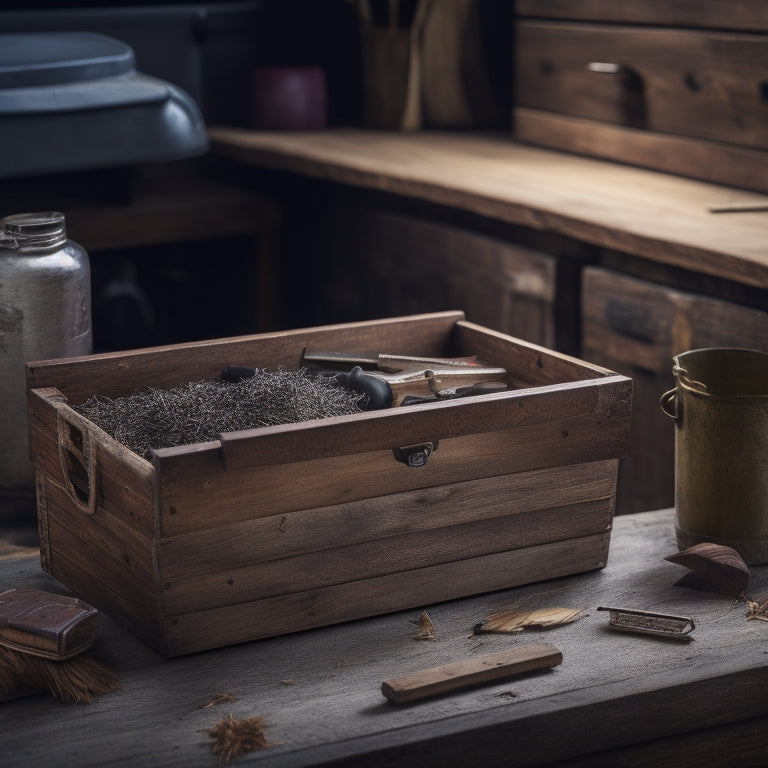
Craft Your Own Unique Wood Storage Bin
I'll craft my own unique wood storage bin by combining clever design ideas, precise building techniques, and creative customization options. I'll gather the necessary materials, cut the boards to size, and sand them for a smooth finish. Next, I'll assemble the bin's sides using joining techniques and add finishing touches like wood conditioner and stain. To make it truly one-of-a-kind, I'll personalize the dimensions and design, add embellishments, and choose a custom color scheme. By following these steps and adding my own personal touches, I'll create a storage bin that perfectly fits my space and style - and I'm excited to see it come together.
Key Takeaways
• Gather necessary materials, including lumber, plywood, and tools, to craft a unique wood storage bin that fits your needs and style.
• Cut boards to precise sizes, sand all sides for a smooth finish, and assemble the bin using joining techniques for a sturdy structure.
• Personalize your creation by customizing dimensions, design, and color options to match your home aesthetic and add embellishments like trim or labels.
• Add a removable liner for easy cleaning, ensure a sturdy bottom panel, and reinforce sides for durability, then apply a final coat of polyurethane.
• Incorporate unique finishes, such as distressed or glossy, and add personal touches like messages or monograms to make your wood storage bin truly one-of-a-kind.
Building the Storage Bin
I typically begin building my DIY wood storage bin by gathering all the necessary materials, including dimensional lumber, plywood, a Kreg Jig kit, clamp, screws, drill, power sander, sandpaper, wood glue, nail gun, circular saw or jigsaw, wood conditioner, stain, and polyurethane.
With my materials in hand, I move on to cutting my boards to size using precise cutting methods. Next, I sand all four sides to guarantee a smooth finish. Joining techniques come into play as I assemble the storage bin sides, followed by cutting and nailing the bottom into place.
With the basic structure built, I'm ready to add the finishing touches, like wood conditioner and stain, to bring out the beauty of the wood. Material options and joining techniques are essential at this stage, as they'll impact the overall look and durability of my storage bin.
Customizing Your Creation
With the basic structure of the storage bin built, it's time to personalize its dimensions and design to fit specific needs or decor. Now, I get to add my own flair!
I can customize the size to fit perfectly in a particular space or adjust the design to match my personal style. Here are some ways I can take my storage bin to the next level:
-
Adding embellishments: Think decorative trim, carvings, or even a custom label.
-
Custom color options: Choose a unique finish that matches my home's aesthetic or personal taste.
-
Unique finishes: Consider a distressed look, a glossy finish, or a natural wood tone.
- Personal touches: Add a special message, a monogram, or a fun design element that reflects my personality.
Bringing It All Together
Finishing touches are now within reach as I assemble the final components of my custom wood storage bin. I'm adding decorative accents like metal handles and a rustic lid to give it a personal touch.
But, let's not forget the functional features that make it truly useful – a sturdy bottom panel and reinforced sides guarantee my storage bin can hold its weight. I'm also incorporating a removable liner for easy cleaning and maintenance.
With a final coat of polyurethane, my wood storage bin is ready to shine. I've successfully brought together form and function, creating a beautiful piece of furniture that's both practical and stylish.
Now, it's time to fill it up and enjoy the fruits of my labor!
Frequently Asked Questions
Can I Use Reclaimed or Recycled Wood for My Storage Bin Project?
I'm a huge fan of giving old wood a new life! When it comes to using reclaimed or recycled wood for my project, I know I'll get a unique wood patina that'll add character to my storage bin.
However, I've got to be mindful of wood sourcing - ensuring it's dry, free of pests, and not too damaged. With some TLC, I can upcycle this old wood into a one-of-a-kind storage solution that's both eco-friendly and stylish.
How Do I Prevent Warping or Bowing of the Plywood Bottom?
Building a DIY project is like steering through a treacherous ocean - one wrong move and it's sunk.
When it comes to preventing warping or bowing of the plywood bottom, I've learned to prioritize moisture control. I make sure to store my plywood in a dry area and use a moisture-resistant coating.
Edge reinforcement is also key - I use screws and wood glue to secure the edges, ensuring a sturdy foundation that won't buckle under pressure.
With these strategies, I can rest easy knowing my storage bin will stay shipshape.
Are Kreg Jig Screws Suitable for Outdoor or Humid Environments?
When it comes to outdoor or humid environments, I'm picky about my screws. I need ones that can withstand the elements.
Kreg Jig screws, unfortunately, aren't the best choice. They're not designed for weather resistance or corrosion protection, which means they might rust or degrade over time.
For outdoor use, I opt for stainless steel or galvanized screws that can handle the moisture and humidity. Trust me, it's better to be safe than sorry - I don't want my project falling apart on me!
Can I Add Casters or Wheels to My Wood Storage Bin?
I'm considering adding casters to my wood storage bin, but I've got some essential questions to answer first. Can these wheels handle the weight capacity of my fully-loaded bin?
Do I need soft-close casters to prevent slamming shut and spilling contents everywhere?
I don't want my DIY project to turn into a wheels-off disaster. Time to research and choose the right casters for the job - my sanity (and my storage bin) depend on it!
How Do I Ensure the Wood Conditioner Doesn't Affect the Stain Color?
When prepping my wood for staining, I make sure to select a wood conditioner that's compatible with my chosen stain. I don't want any surprises!
I read the labels carefully, looking for conditioners specifically designed for stain-friendly wood preparation.
I also do a test patch to verify the conditioner doesn't affect the stain color.
This way, I can achieve the perfect finish for my DIY project.
Related Posts
-
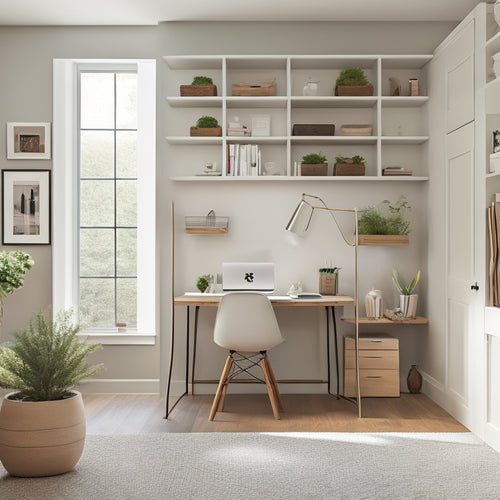
Optimize Your Small Home Office With Smart Storage
You can instantly boost your productivity and reduce stress by optimizing your small home office with smart storage s...
-
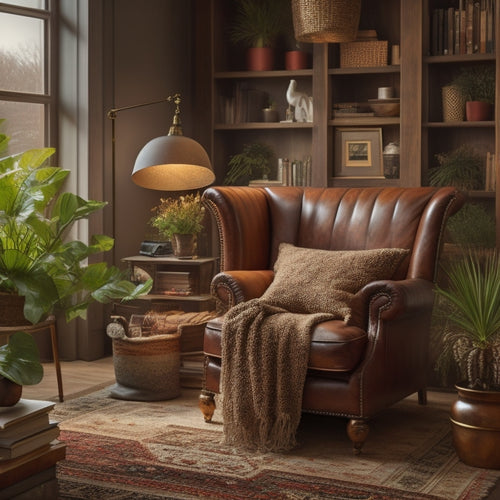
Budget-Friendly Ideas for a Cozy Home Library
You can transform any space into a cozy home library without breaking the bank. Start by decluttering your book colle...
-
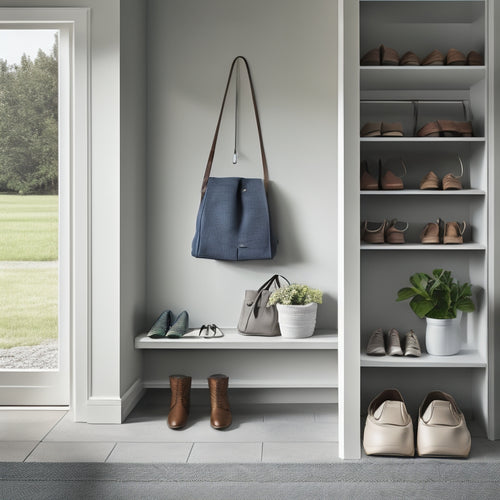
Simplify and Streamline Your Small Entryway Chaos
You're ready to tame the chaos in your small entryway! Start by gathering three labeled boxes to categorize clutter, ...


