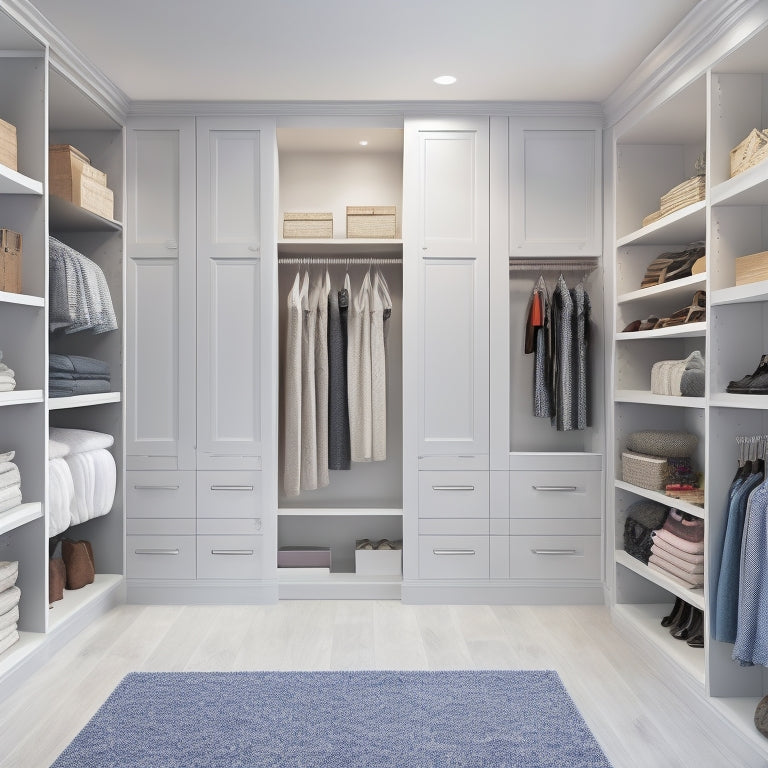
Create a Functional Closet Organizer With Pockets
To create a functional closet organizer with pockets, start by gathering necessary materials, including a large piece of quilting cotton fabric, a coat hanger, zipper, and various fabrics for exterior, lining, and pockets. Accurately mark pocket placements and sew the organizer, dividing it into six pockets with 12 sections. Create individual pockets with coordinating lining fabric and attach them to the front and back of the organizer. Topstitch and baste for stability, and focus on precise pocket assembly. By following these essential steps, you'll be well on your way to maximizing your closet's storage potential and achieving the organized space you desire.
Key Takeaways
• Use a 19' wide x 35' tall piece of quilting cotton fabric as the base material for the closet organizer.
• Divide the organizer into 6 pockets with 12 sections to maximize storage capacity and accessibility.
• Attach a welt zipper on the back of the organizer using lining fabric for a secure and hidden closure.
• Sew pocket pieces with 1/4-inch seam allowance and coordinating lining fabric for a professional finish.
• Topstitch and baste the organizer for stability and durability, ensuring a functional and long-lasting closet storage solution.
Sewing Materials and Preparation
To begin creating your closet organizer with pockets, gather the necessary materials, including:
- a 19' wide x 35' tall piece of quilting cotton fabric
- a coat hanger
- a zipper
- various fabrics for the exterior, lining, and pockets
- pins
- a fabric marking pen
These sewing essentials will form the foundation of your project.
When it comes to fabric selection, consider directional prints, which may require additional fabric. Take note of the fabric requirements for each component, including the exterior, lining, front and back pockets, and bias strips for binding.
Having all the essential materials at hand will ensure a smooth and enjoyable sewing experience.
With your materials ready, you'll be well-prepared to tackle the next steps in creating your functional and stylish closet organizer with pockets.
Marking and Sewing the Organizer
With the materials prepared, the next step is to mark the front and back of the organizer with pocket placements using a fabric marker, ensuring precise positioning for a polished finish. This essential step sets the stage for a functional and organized closet accessory.
| Fabric Marking Techniques | Pocket Placements | Sewing Zipper |
|---|---|---|
| Use a fabric marker to mark pocket placements | Divide the organizer into 6 pockets with 12 sections | Attach a welt zipper on the back using the lining fabric |
| Ensure precise positioning for a professional finish | Mark deep pockets on the back for added storage | Fold lining fabric to create a clean finish |
| Double-check measurements before sewing | Space pockets evenly for the best storage | Topstitch for added durability |
Creating the Pockets and Lining
How do you efficiently create the pockets and lining of your closet organizer, ensuring a sturdy and well-organized storage solution?
Start by cutting out the pocket pieces according to the pattern, making sure to leave a 1/4-inch seam allowance.
For the lining, use a coordinating fabric that complements the exterior design.
To construct the pockets, sew the sides and bottom of each pocket, leaving the top open.
Then, turn the pockets right side out and press the seams.
For the lining, sew the sides and bottom, leaving a small opening for turning.
Turn the lining right side out, press, and topstitch for a professional finish.
Assembling the Closet Organizer
Now that the pockets and lining are constructed, it's time to bring all the components together by assembling the closet organizer, a process that demands careful attention to detail and precision.
Begin by attaching the pockets to the front and back of the organizer, ensuring accurate pocket assembly.
Next, sew the top of the closet organizer front by joining the front and lining pieces, topstitching, and basting for stability. This critical step will guarantee a sturdy and functional closet organizer.
As you assemble the pieces, keep in mind the ultimate goal of achieving best closet organization.
With patience and focus, you'll soon have a beautifully crafted closet organizer that will keep your closet tidy and organized.
Pattern Overview and Resources
This detailed sewing pattern for a closet organizer with multiple pockets provides a step-by-step guide for creating a functional and organized closet accessory that enhances your sewing skills. With various pattern variations, you can customize your organizer to fit your unique closet organization needs.
| Sewing Techniques | Fabric Selection |
|---|---|
| Welt zipper installation | Quilting cotton fabric |
| Topstitching and basting | Directional prints |
| Curved corner cutting | Coordinating fabrics |
In this inclusive guide, you'll find sewing techniques, fabric selection tips, and resources to help you create a practical storage solution for your closet. Whether you're a beginner or an experienced sewer, this pattern is designed to help you improve your skills and create a beautiful, functional closet organizer.
Frequently Asked Questions
Can I Use Other Types of Fabric Besides Quilting Cotton?
When it comes to fabric selection, you're not limited to quilting cotton. You can experiment with various fabric weights and texture options to achieve the desired look and feel for your project.
Consider lightweight fabrics like voile or lawn for a soft, airy texture, or opt for heavier fabrics like canvas or denim for added durability.
Just be sure to adjust your sewing techniques and stabilizers accordingly to accommodate the unique properties of your chosen fabric.
How Do I Adjust the Pattern for a Smaller Closet Space?
When I downsized to a tiny apartment, I had to rethink my wardrobe storage.
Similarly, when faced with space constraints, it's crucial to adapt your closet organizer design.
To adjust the pattern for a smaller closet space, consider customization options like reducing the number of pockets or shrinking the overall size.
Simply recalculate your fabric requirements and adjust your cutting and sewing instructions accordingly.
With a little creativity, you can create a functional and stylish organizer that fits your compact closet.
Are There Any Variations for Different Pocket Sizes and Shapes?
When it comes to varying pocket sizes and shapes, the possibilities are endless! Consider custom shapes to fit specific items, like a curved pocket for a purse or a rectangular one for a laptop.
Pocket clusters can also be designed to group similar items together, such as a trio of small pockets for accessories or a larger one for sweaters.
Get creative and experiment with different configurations to suit your unique needs and style!
Can I Add Additional Features Like Hooks or a Shelf?
As the great Leonardo da Vinci once said, 'Simplicity is the ultimate sophistication.'
When it comes to adding features to your closet organizer, simplicity is key.
When considering additional design elements like hooks or a shelf, key considerations include the overall aesthetic, functionality, and available space.
Weigh the benefits of each feature against the potential clutter they may create.
Is This Project Suitable for a Beginner Sewer?
For the novice sewer, tackling a project like this can evoke sewing anxiety. However, with a well-structured guide and patience, it's an excellent opportunity for skill building and confidence.
Start by breaking down the process into manageable tasks, and focus on mastering each step before moving forward. With persistence and practice, you'll be surprised at how your skills improve, and your anxiety dissipates, replaced by a sense of accomplishment and pride in your handiwork.
Related Posts
-
Why Cluttered Bedrooms Are a Thing of the Past
You've finally said goodbye to cluttered bedrooms, thanks to innovative storage solutions that have revolutionized th...
-
Tiny Kitchen Big Storage: Space-Saving Ideas
You can transform even the smallest of kitchens into a haven of functionality and style by utilizing every inch of av...

