DIY Fabric Storage Boxes: Crafting Versatility Unleashed
Share
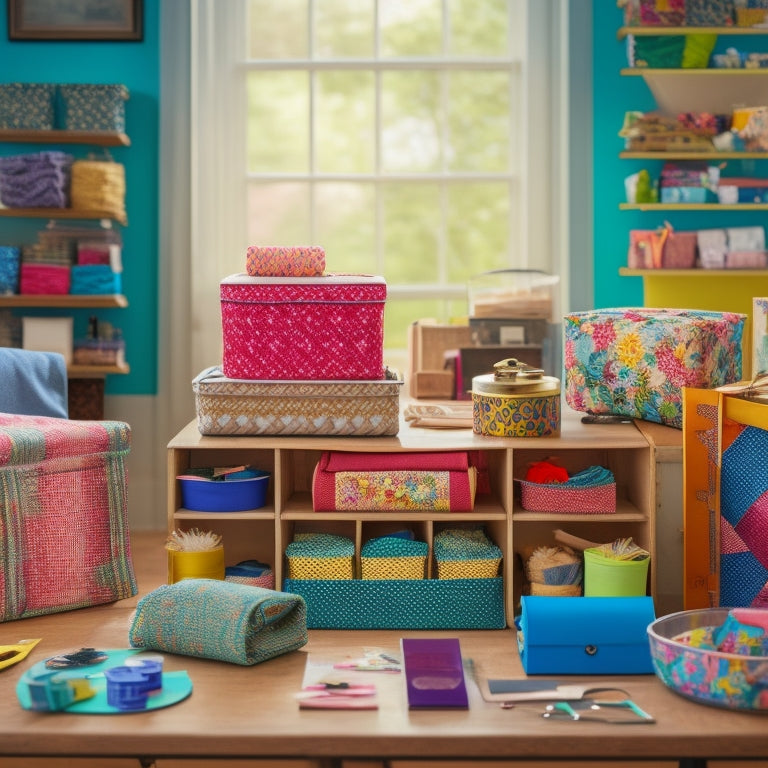
You're about to discover a world of creative possibilities with DIY fabric storage boxes! Start by cutting two main fabric pieces and two interfacing pieces to size, then sew them into tubes to create the box foundation. Add stability with plastic canvas and create compartments by sewing lines in the fabric. Next, attach a clear vinyl window and sew around the edges with bias tape. Add sturdy handles and a reinforcing box for a finished look. With your fabric storage box complete, you'll be amazed at how it can fit into various aspects of your daily life. And that's just the beginning of your crafting journey...
Key Takeaways
• Construct fabric storage boxes with customizable sizes, shapes, and colors to fit various storage needs and personal styles.
• Add a clear vinyl window and labeling features to easily identify contents and make the storage box versatile.
• Use sturdy handles and a reinforcing X-pattern inside to ensure easy transport and prevent handle tearing.
• Fabric storage boxes are perfect for organizing small items like toys, threads, yarns, cables, and adapters in daily life.
• Mastering DIY fabric storage boxes can lead to exploring creative projects beyond, such as rope plant hangers, sugar scrubs, and eco-friendly teething toys.
Fabric Storage Box Construction
Cut two main fabric pieces and two interfacing pieces to the specified sizes, ensuring accuracy to achieve a sturdy and well-constructed fabric storage box.
Don't worry, it's not as intimidating as it sounds!
Next, you'll sew these fabric pieces into tubes, creating the foundation of your box.
Now, it's time to add some stability with plastic canvas - this will help your box hold its shape. You'll insert pieces of plastic canvas between the layers, making sure it's sturdy and can hold its contents.
As you sew, create compartments by adding lines in the fabric, and don't forget to sew a circle at the bottom to complete the compartments.
You're one step closer to having a functional and adorable storage box!
Window and Labeling Features
Now that you've constructed the foundation of your fabric storage box, it's time to add a functional and stylish touch - a clear vinyl window that allows you to easily identify what's inside!
To attach the window, center it on the front side of the box and sew around the edges using bias tape. This will give you a secure and stylish window attachment.
For labeling flexibility, leave a small opening at the top of the window to slide in your content labels. This way, you can easily switch labels as needed, making your storage box even more versatile.
With this feature, you'll be able to easily see and identify what's inside your box, keeping your storage organized and hassle-free.
Handles and Finishing Touches
To guarantee your fabric storage box is easy to transport and maneuver, you'll need to attach sturdy handles that can support the weight of its contents. Cut and sew fabric strips for your handles, making sure they're long enough to fit comfortably in your hands.
Attach them to the sides securely, ensuring they're centered and evenly spaced. For added handle reinforcement, sew a box with an X pattern on the inside of the box. This will distribute the weight evenly and prevent the handles from tearing off.
Versatile Usage and Benefits
You'll love how these fabric storage boxes can seamlessly fit into various aspects of your daily life, from kids' rooms and craft rooms to shelves and cars, providing a convenient solution for organizing toys, sewing supplies, cords, and more.
They're perfect for storing tiny toys, threads, and yarns in your kids' rooms or craft rooms, keeping them tidy and within reach. Plus, they're great for stashing away cables and adapters in your car or on your shelves.
The best part? You can customize them in your favorite colors and prints to match your unique style. With their ease of use and versatility, these fabric storage boxes will become your new favorite organizing buddies!
Crafting Beyond Fabric Boxes
Take your crafting skills to the next level by exploring a variety of creative projects beyond fabric storage boxes. You've mastered the art of DIY fabric storage, now it's time to branch out! From home decor to self-care, the possibilities are endless. Here are some ideas to get you started:
| Project | Description |
|---|---|
| Rope Plant Hanger | Create a bohemian-inspired planter using rope and a few simple knots |
| Peppermint Sugar Scrub | Mix together sugar, coconut oil, and peppermint essential oil for a relaxing treat |
| Natural Wood Baby Chew Toys | Upcycle wood and silicone to create safe, eco-friendly teething toys |
| Photo Transfer Wood Decor | Transfer your favorite photos onto wood for a unique nursery decor piece |
| Ashley's Newsletter | Stay up-to-date on the latest crafting ideas and tutorials from Ashley Johnston |
These projects will challenge your skills and inspire your creativity. So, what are you waiting for? Get crafting!
Frequently Asked Questions
Can I Use Different Shapes Instead of a Cylindrical Design?
You're thinking outside the box - literally! Yeah, you can definitely ditch the cylindrical design for something more unique.
Why not try hexagon pockets or add some square corners to give your storage box some edge? Just adjust your fabric cuts and sewing lines accordingly.
It might require some extra math, but hey, you're a crafty genius, right?
The result will be a one-of-a-kind storage solution that's as functional as it's fabulous!
How Do I Ensure the Fabric Doesn't Fray Over Time?
'Life's threads can unravel, just like fabric edges. But fear not, dear crafter! To prevent fraying, you're the master weaver.
Use a serger or zigzag stitch to bind those edges, keeping them tidy and intact.
For an extra layer of protection, apply fray-preventing treatments or edge binding techniques.
Your fabric will remain vibrant, just like your creativity.
Now, go forth and craft, knowing your fabric storage boxes will remain sturdy and fray-free!'
Are There Any Specific Fabric Types Recommended for Durability?
When it comes to selecting fabrics for durability, you'll want to take into account fabric weights. Heavier weights like canvas, denim, or twill are perfect for storage boxes that'll hold a lot.
If you're looking for something lighter, try cotton or linen blends.
And don't forget about seasonal textiles like outdoor fabrics or waterproof materials for added protection.
You got this!
Can I Add Additional Features Like Zippers or Velcro?
The suspense is killing you, right? Can you add those fancy features like zippers or velcro to your storage box?
Absolutely! You can explore different closure options to give your box an extra oomph. Try adding decorative accents like contrasting thread or colorful buttons to make it pop. Just remember to adjust your sewing pattern and add the necessary stabilizers for a smooth finish.
Now, get creative and give your storage box some serious personality!
How Do I Clean and Maintain the Fabric Storage Boxes?
You're wondering how to keep those fabulous fabric storage boxes clean and fresh, right?
First, spot removal is key! For stains, gently blot with a damp cloth. For tougher spots, mix baking soda and water to create a paste, let it sit, and then wipe clean.
To prevent odors, sprinkle some baking soda or activated charcoal inside the box every few months.
Voila! Your boxes will stay fresh and fabulous!
Related Posts
-

Transform Your Space: 5 Online Courses to Help
Ready to transform your space from cluttered to calm? Start with mastering home organization fundamentals, like declu...
-

Why Kitchen Cabinet Organization Matters Most
You're likely losing more than just time and ingredients when you can't find what you need in your kitchen cabinets -...

