DIY Ornament Storage: Box Divider Efficiency Hacks
Share
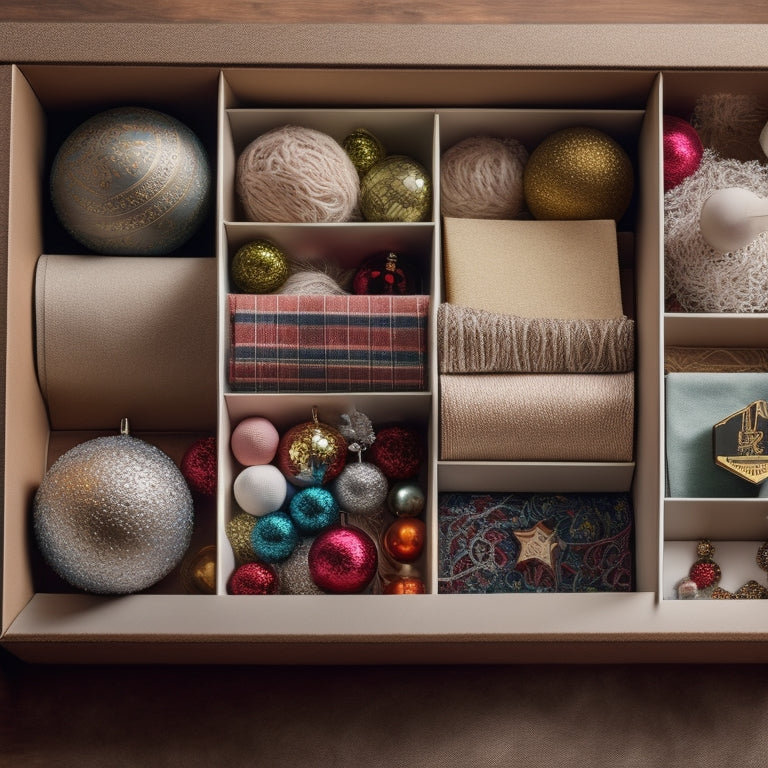
Effective DIY ornament storage relies on cleverly designed box dividers that maximize space, protect fragile decorations, and minimize waste. Begin by sourcing materials efficiently, utilizing recycled materials to create eco-friendly storage solutions. Cut custom dividers to fit your specific needs, and create intersecting dividers for a grid-like structure that accommodates ornaments of varying sizes. Assemble the divider structure to guarantee a sturdy and organized space, and fine-tune the box layout to maximize storage capacity and accessibility. By implementing these efficiency hacks, you'll be able to store more ornaments in a smaller area while keeping them protected and organized, and discover even more innovative ways to optimize your storage system.
Key Takeaways
• Utilize recycled materials like cardboard and tissue paper to create eco-friendly DIY ornament storage and reduce waste.
• Cut custom dividers in various sizes to organize and protect holiday decorations, maximizing space usage.
• Create intersecting dividers with lap joints to form a grid-like structure that accommodates ornaments of varying sizes.
• Assemble the divider structure to create sections for ornaments, ensuring a sturdy and organized storage system.
• Optimize box layout by fine-tuning the grid-like structure to maximize storage capacity and accessibility.
Source Materials Efficiently
Explore the materials in your recycling bin! Save boxes, sheets of cardboard, and tissue paper to create a DIY ornament storage system that's both eco-friendly and budget-friendly. By utilizing these potentially free materials that would have been discarded, you can reduce waste and minimize your carbon footprint.
Get creative and customize the storage boxes to fit your specific needs. With a little ingenuity, you can create stackable storage solutions for your holiday decor that are both functional and sustainable.
Cut Custom Dividers
With your materials sourced and ready to go, the next step in creating an efficient ornament storage system is to cut custom dividers that will effectively organize and protect your holiday decorations.
To achieve this, trim cardboard pieces to fit the width and height of your storage box, ensuring they are sturdy enough to protect fragile decorations. Cut dividers in various sizes to accommodate ornaments of different shapes and sizes, and consider creating custom divider designs to maximize space usage.
Create Intersecting Dividers
To further optimize the storage box's layout, create intersecting dividers by trimming cardboard pieces at intervals to form lap joints. This technique enables the assembly of a sturdy, grid-like structure that can accommodate ornaments of varying sizes.
This clever intersection technique guarantees efficient space utilization, allowing you to store more ornaments while protecting them from damage. By customizing the size of the compartments, you can safeguard fragile decorations and prevent them from getting tangled or broken.
With intersecting dividers, you'll achieve a DIY ornament organization system that's both functional and space-saving. By implementing this hack, you'll be able to store your holiday decor with confidence, knowing they're securely protected and easily accessible.
Assemble Divider Structure
Once the intersecting dividers are cut and prepared, the next step is to assemble the divider structure by fitting the dividers together to create sections for ornaments within the storage box. This is where the magic happens, and your DIY ornament storage starts taking shape!
As you put together the dividers, make sure they fit snugly together, forming a sturdy grid-like structure that will keep your ornaments organized and protected. Efficient organization techniques are key here, so take your time to align the dividers correctly, ensuring they're securely placed inside the box.
With a little patience, you'll have a custom-made storage system that's both functional and space-saving.
Optimize Box Layout
Each carefully crafted divider now in place, the next essential step is to fine-tune the box's layout to maximize storage capacity and accessibility.
Think of it as solving a puzzle – you want to fit all your ornaments snugly without wasting any space. To optimize the box layout, arrange the dividers in a way that creates a grid-like structure, allowing you to organize efficiently.
Consider the size and shape of your ornaments and allocate space accordingly. By doing so, you'll be able to store more ornaments in a smaller area, making the most of your box's real estate.
Frequently Asked Questions
Can I Use Plastic Dividers Instead of Cardboard?
When considering alternatives to cardboard dividers, a plastic variety can be a viable option. However, evaluating the divider durability before making a switch is crucial.
Plastic dividers may offer added protection against moisture and pests, but they can also be more prone to breaking or cracking. Confirm that the plastic dividers you choose are sturdy and specifically designed for storage to maintain the efficiency and organization of your ornament storage system.
How Do I Clean Ornaments Before Storing Them?
Did you know that the average American spends around 40 hours per year cleaning and organizing their holiday decorations?
Before storing your ornaments, it's important to give them a gentle polishing to remove any tarnish or grime. Delicate dusting with a soft-bristled brush or a microfiber cloth will also help prevent scratches.
This attention to detail will guarantee your ornaments remain sparkling and intact for years to come.
Will This Method Work for Large or Oversized Ornaments?
When it comes to storing large or oversized ornaments, traditional dividers might not cut it. That's where oversized solutions come in.
Consider using bulky alternatives like sturdy cardboard inserts or custom-cut foam blocks to create compartments that can accommodate larger decorations. These solutions can provide the necessary support and protection for your bigger ornaments, ensuring they remain safe and organized during storage.
Can I Add a Lid or Closure to the Storage Box?
Imagine a treasure chest overflowing with ornaments, secured with a flourish by a dashing pirate's golden brooch (ahem, anachronism alert!).
Now, back to reality: adding a lid or closure to your storage box is a brilliant idea! Consider using decorative clasps or magnetic catches to keep the lid securely shut. These stylish solutions will not only protect your ornaments but also add a touch of elegance to your storage box.
With a lid in place, you can stack your boxes with confidence, knowing your treasures are safely tucked away.
Are There Alternative Materials for Wrapping Fragile Ornaments?
When it comes to wrapping fragile ornaments, traditional paper wraps can be limiting. Consider paper alternatives like acid-free tissue paper, velvet pouches, or even repurposed cloth scraps.
For added protection, use fragile wraps like bubble wrap or foam sheets. You can also get creative with materials like felt, burlap, or old maps.
Whatever you choose, make sure it's sturdy enough to safeguard your delicate ornaments during storage.
Related Posts
-

What's the Secret to Organizing Digital Clutter?
You're tired of feeling overwhelmed by digital mess, wasting time searching for lost files and drowning in a sea of d...
-

Smart Storage for Small Kitchen Appliances
You can optimize your small kitchen's functionality by implementing smart storage solutions that efficiently stash sm...

