Master the Art of Home Photo Printing
As I've honed my skills in home photo printing, I've found that it's all about the details. From organizing my space with customizable disc-bound organizers to choosing the right printer and paper, every element counts. With a top-rated printer and papers like Red River's UltraPro luster, I can achieve stunning quality and precise color accuracy. By fine-tuning my settings and troubleshooting common issues, I can produce prints that rival lab quality. With a few simple adjustments, I can tap into the full potential of my equipment and take my photo printing to the next level - and there's still more to discover.
Key Takeaways
• Organize your photo printing space with disc-bound organizers and customizable pages to maximize efficiency and reduce clutter.
• Choose the right printer by evaluating key features like print resolution, paper handling, and connectivity, and considering budget and maintenance costs.
• Select the perfect paper for your prints, such as Red River Paper's UltraPro luster paper or Polar luster metallic paper, to enhance visual appeal.
• Troubleshoot common issues like paper alignment and ink levels, and maximize printer settings to achieve stunning photo quality comparable to lab prints.
• Experiment with different printing techniques, such as borderless printing, and utilize resources like Red River Paper's to fine-tune your settings and master the art of home photo printing.
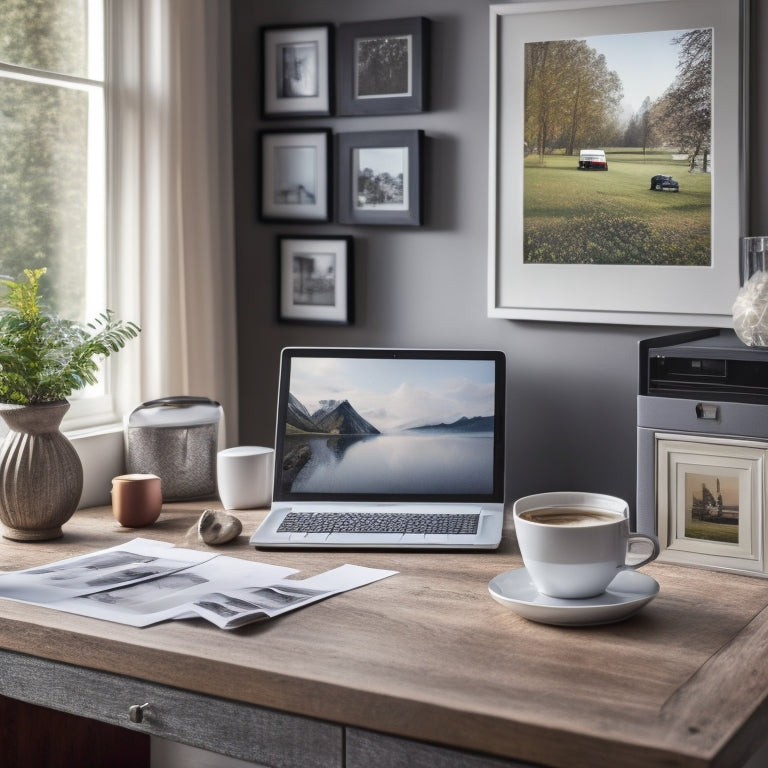
Organizing Your Photo Printing Space
As I set up my home photo printing space, I'm turning to disc bound organizers to keep my scrapbooking materials and photos neatly stored and easily accessible. These storage solutions are a game-changer for my workspace setup, allowing me to declutter and focus on printing.
With customizable pages, I can organize my supplies by category, making it a breeze to find what I need. My organization tips? Start by categorizing similar items together, then allocate a specific spot for each group. Finally, implement a 'one in, one out' policy to prevent clutter from building up again.
With these strategies, I can focus on what matters most – printing stunning photos for my scrapbooking projects.
Benefits of Home Photo Printing
With my organized workspace setup, I can now focus on the benefits of printing my photos at home, where I've complete control over the quality and color accuracy of my prints.
I love that I can print photos in various sizes and on demand, whenever I need them for my scrapbooking projects. Plus, it's cost-effective in the long run compared to online printing services.
I get a kick out of seeing my own prints come to life, and it's so convenient to have them ready when I need them. With home printing, I can guarantee that my photos are exactly how I envision them, with precise color accuracy and stunning quality.
It's a game-changer for my craft, and I'm excited to explore the creative possibilities!
Choosing the Right Printer
I narrow down my options by researching top-rated printers specifically designed for high-quality photo printing, like the Canon pro-100, which is known for its stunning photo quality. When choosing the right printer, I consider key features like print resolution, paper handling, and connectivity options. Budget considerations also play a significant role, as I weigh the cost of the printer against the cost of ink cartridges and maintenance tips.
| Printer Features | Budget Considerations |
|---|---|
| Print resolution (dpi) | Initial printer cost |
| Paper handling (size, type) | Ink cartridge cost (per page) |
| Connectivity options (Wi-Fi, USB) | Maintenance costs (printhead cleaning) |
| Print speed (pages per minute) | Warranty and support costs |
Selecting the Perfect Paper
Now that I've chosen a reliable printer, I turn my attention to selecting the perfect paper to bring out the best in my photos. As a scrapbooker, I need paper that complements my printing techniques and enhances the visual appeal of my images.
I opt for Red River Paper's UltraPro luster paper, which provides a bright white base with rich texture. For a more dramatic effect, I use their Polar luster metallic paper, which adds a shimmer to my photos. When working on craft projects, I prefer their matte photo paper, ideal for scrapbooking.
With the right paper, I can experiment with different printing techniques, such as borderless printing, to create stunning visuals that make my photos truly pop.
Printing Like a Pro at Home
Seventy-five percent of professional photographers swear by Canon printers for their high-quality photo printing, and I'm no exception.
With my trusty Canon pro-100, I've mastered the art of optimizing like a pro at home. To avoid common issues, I always troubleshoot by checking my paper alignment and ink levels.
Next, I maximize my printer settings by selecting the right paper type and print quality. Red River Paper's resources have been a game-changer in helping me fine-tune my settings.
By doing so, I've achieved stunning photo quality that rivals lab prints. With a few simple tweaks, you can too!
Frequently Asked Questions
How Do I Prevent Fingerprints on My Printed Photos?
The age-old nemesis of every photographer: fingerprints on printed photos! I've lost count of how many times I've ruined a perfect shot with a careless touch.
But fear not, fellow shutterbugs! I've discovered the secret to fingerprint resistance: handle your photos with care, and invest in gloves or a fingerprint-resistant paper like Red River's UltraPro luster.
Trust me, it's worth it - those smudge-free prints are a game-changer!
Can I Use Home-Printed Photos in a Professional Photography Business?
When I'm thinking of using home-printed photos in my pro photography business, I consider client expectations - they want high-quality, professional-looking images. I need to maintain professional boundaries, ensuring my prints meet those standards.
I invest in high-quality printers like Canon and premium paper from Red River to guarantee stunning results. With attention to detail and quality control, I confidently present my work, knowing it'll exceed client expectations and keep them coming back for more.
What Is the Ideal Humidity Level for Storing Printed Photos?
When it comes to storing my precious printed photos, I'm obsessive about climate control. I've learned that the ideal humidity level is between 30-50% - any higher and my prints turn into soggy, curled-up messes.
To keep things in check, I use acid-free storage boxes and silica gel packets to absorb excess moisture. It's worth the extra effort to preserve my photos and keep them looking their best.
Now, if you'll excuse me, I've some prints to pamper!
How Do I Troubleshoot Common Printing Issues at Home?
Ugh, printing woes! When I'm stuck with paper jams or ink bleeding, I troubleshoot by verifying my printer's alignment and cleaning the rollers.
Next, I inspect my paper quality - maybe it's too thick or thin? I also confirm my ink cartridges are properly seated and not running low.
If all else fails, I consult my printer's manual or online support for a fix. With a little patience and persistence, I'm back to printing like a pro!
Are Home-Printed Photos Suitable for Selling or Gifting?
I'm often asked if my home-printed photos are good enough to sell or gift. Honestly, I think they're more than good enough!
With personalization options like custom sizes, borders, and paper textures, my prints exude emotional value.
I can create one-of-a-kind pieces that resonate with recipients.
Plus, the fact that I've invested time and effort into printing them myself adds a touch of love and care.
Related Posts
-
7 Best Compact Closet Storage Ideas for Tiny Homes
You're looking for compact closet storage ideas to maximize your tiny home's space. Start by doubling your hanging sp...
-
Organize Your Digital Photos With These Online Courses
You've accumulated thousands of digital photos, and finding a specific one has become overwhelming. It's time to orga...

