Organize Planner Supplies Like a Pro
Share
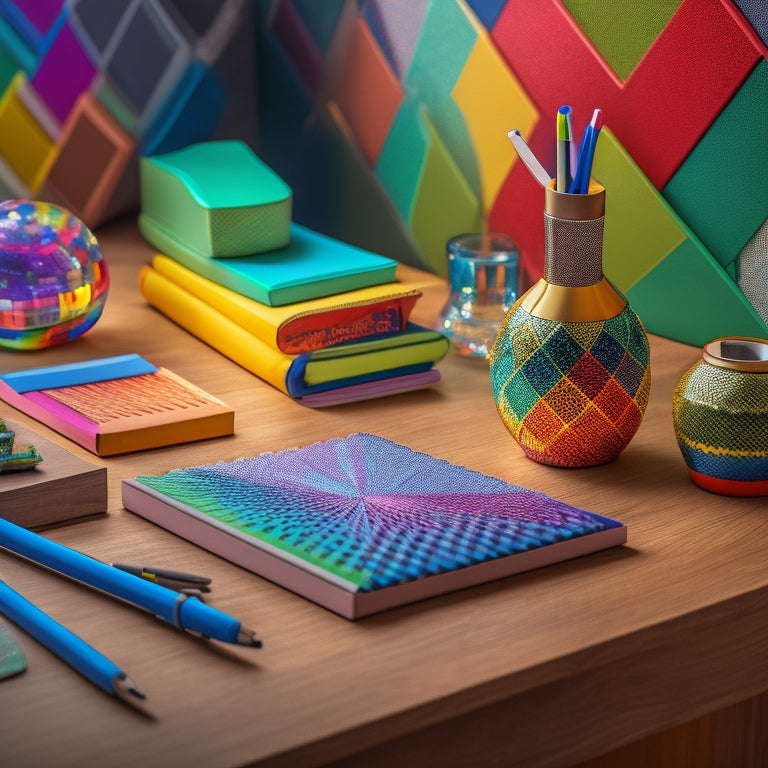
To organize planner supplies like a pro, start by gathering and evaluating all materials to understand the quantity and type of supplies you have. This helps declutter your workspace and gain control. Next, categorize supplies into distinct groups, such as writing utensils and stickers, and allocate space based on size and frequency of use. Finally, store and maintain organization with a labeling system, storage bins, and compartments. By following these steps, you'll be well on your way to a tidy and functional planner supply system that allows you to focus on what matters most - planning and organizing your life.
Key Takeaways
• Combine all planner materials in one spot to assess quantity and variety, and visualize storage needs to declutter your workspace effectively.
• Group similar supplies together by categorizing and labeling them, and allocate space based on size and frequency of use.
• Implement a labeling system to keep items visible and easily accessible, and utilize storage bins to store supplies in an organized manner.
• Opt for transparent containers and compact organizers to maximize space, and choose storage options based on the size and type of supplies.
• Maintain organization by regularly reviewing and adjusting your storage solutions to ensure everything has its designated place.
Gather and Assess Supplies
Before organizing your planner supplies, it's important to gather everything in one place, creating a complete pile that allows you to visualize the quantity and variety of items you need to store. This step is vital in decluttering your workspace and giving you a sense of control over the chaos.
Take a deep breath, and collect all your planner accessories, stickers, pens, and papers. Make a big pile and admire the colorful mess. This will help you realize the quantity of supplies you have and give you an idea of how much space you'll need to allocate for storage.
Now, take a moment to color code your supplies, grouping similar items together. This will make the next steps in the organizing process much smoother.
Categorize and Allocate Space
With your supplies gathered and assessed, the next step is to categorize them into distinct groups, allowing you to allocate the necessary space for each type of item. This important step guarantees space optimization and prevents cluttering.
Create categories like 'writing utensils,' 'stickers,' and 'paper supplies,' and label them accordingly. This will help you visualize the storage needs for each group. Allocate space based on the category's size and frequency of use. For instance, frequently used pens might require a dedicated container, while less-used stickers can be stored in a smaller compartment.
Store and Maintain Organization
Having categorized and allocated space for your planner supplies, storing them in a way that maintains organization and ease of access is essential. A labeling system and storage bins can help keep items visible and within reach.
Consider creative displays, such as a rotating caddy or a desktop organizer, to showcase frequently used supplies. For less-used items, utilize storage bins with clear labels, making it easy to find what you need.
Decluttering tips include storing small items like stickers and washi tape in small compartments, and keeping loose papers in a designated folder.
Frequently Asked Questions
How Often Should I Clean Out My Planner Supply Container?
To avoid supply fatigue and container overwhelm, it is crucial to regularly clean out your planner supply container. Aim to purge and reorganize every 3-6 months, or when you notice clutter building up.
Remove expired or unused items, and replenish with fresh supplies. This routine maintenance guarantees your container remains functional, prevents clutter from piling up, and keeps your creative energy flowing.
Can I Use Old Household Items as Storage Containers?
Why let good containers go to waste? Repurposing old household items as storage containers is a brilliant way to reduce waste and get creative.
Upcycled containers, such as old mason jars, wooden crates, or cardboard boxes, can be transformed into functional and stylish storage solutions.
With a little creative repurposing, you can breathe new life into discarded items and keep your planner supplies organized and within reach.
What if I Have Oversized Planner Supplies, Like Large Stickers?
When dealing with oversized planner supplies, such as large stickers, traditional storage containers may not suffice.
Consider vertical storage solutions, like stackable shelves or hanging folders, to maximize space and keep supplies organized.
For sticker organization, utilize adhesive-backed pages or pocket folders to store and categorize large stickers.
This approach guarantees easy access and visibility, while maintaining a clutter-free workspace.
How Do I Prevent My Supplies From Getting Dusty or Dirty?
To safeguard your planner supplies from dust and dirt, consider storing them in air-tight containers or bags. This will create a barrier against external elements, keeping your supplies clean and fresh.
For added protection, wrap fragile or sensitive items in soft, breathable protective wraps. This will prevent scratches and damage, ensuring your supplies remain in pristine condition.
Can I Share a Planner Supply Container With a Friend or Family Member?
Shared spaces spark sparkling synergies, but when it comes to sharing a planner supply container, boundaries are essential.
Co-owner benefits abound when friends or family members collaborate, but individuality can get lost in the shuffle.
Set clear guidelines on supply usage, maintenance, and storage to avoid conflicts.
Designate specific areas for each person's supplies to maintain autonomy.
Related Posts
-

Master Your Space With Digital Decluttering Tools
You're tired of feeling overwhelmed by digital clutter, wasting time searching for lost files, and struggling to focu...
-

10 Essential Storage Hacks for College Dorms
You'll need to get creative with storage to make the most of your college dorm room's limited space. Start by maximiz...
-

Mastering Small Closet Organization: Proven Strategies Unlocked
You're about to reveal the secret to transforming your small closet into a functional haven, where every item has its...


