Revamp Your Kitchen: Baking Supplies Organization Guide
Share
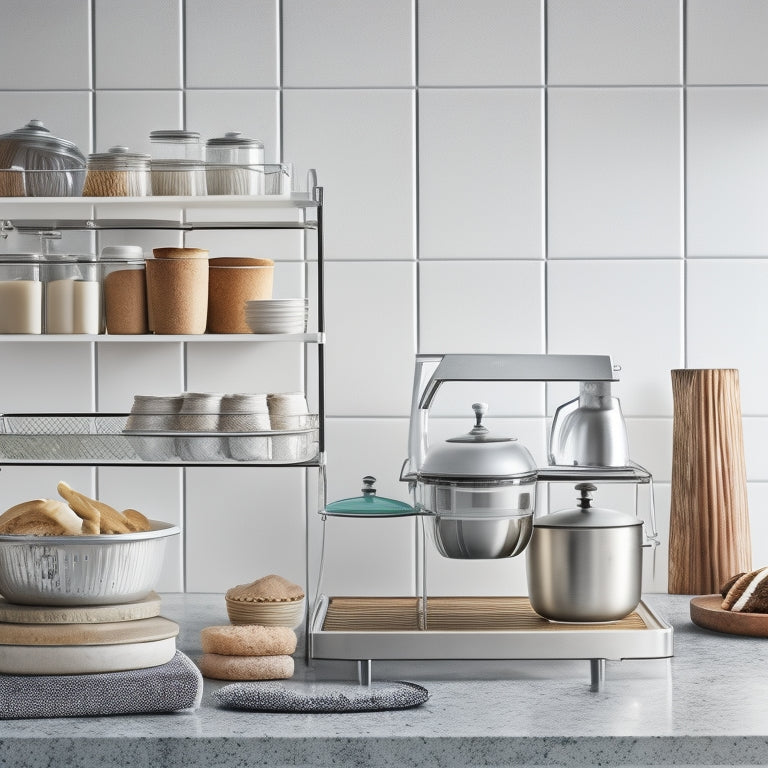
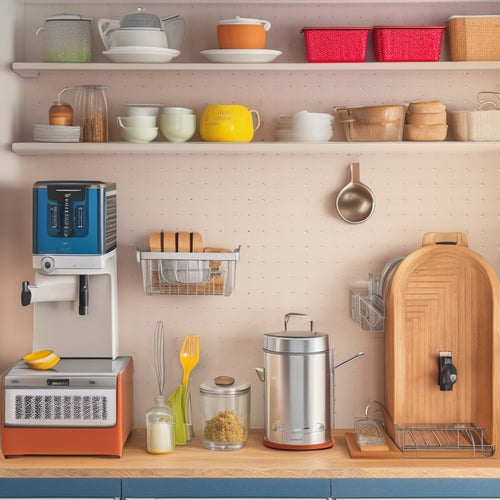
I've corralled my baking supplies chaos by gathering essential tools like OXO containers and IKEA storage boxes. Next, I purged unused items and designated a specific space for baking supplies, maximizing space with vertical storage and labeled containers. I streamlined bulk ingredients with clear bins and efficient labels, and centralized measuring cups and tools in a dedicated drawer. To tame cluttered small items, I utilized stackable containers and DIY chalkboard labels. Now, it's your turn - let's get started on transforming your kitchen into a baking haven, and I'll show you exactly how to achieve a seamless baking experience.
Key Takeaways
• Designate a specific space for baking supplies and assign a home for each group of items to maintain organization and efficiency.
• Utilize clear storage bins, labels, and vertical storage to maximize space and streamline bulk ingredient storage.
• Centralize measuring cups and tools in a dedicated drawer with dividers to keep frequently used items accessible and organized.
• Implement effective labeling techniques, such as chalkboard sticker labels and white paint pen, to quickly identify contents in containers.
• Optimize cabinet space with vertical and horizontal organization, stackable containers, and shelf dividers to tame cluttered small baking items.
Gathering Essential Organizing Tools
I begin by gathering essential organizing tools, including containers for pourable bulk baking ingredients, like OXO Good Grips POP Containers and IKEA VARIERA storage boxes in large and small sizes, along with labels such as chalkboard sticker labels and a white paint pen for labeling. These storage solutions will help me keep my baking supplies in check.
I'm excited to implement effective labeling techniques to make sure I can easily identify what's inside each container. With these container options, I'll be able to store my ingredients in a way that makes sense for my baking needs. Following these organizing tips will help me create a system that's both functional and visually appealing.
Now, let's get started and turn my baking supply chaos into a tidy oasis!
Purging and Designating Baking Space
With my organizing tools in hand, I'm ready to tackle the next step: pulling everything baking-related out of my cupboards to purge what I no longer need and designate a specific space for my baking supplies.
I'm brutal - if I haven't used it in the past year, it's gone! I sort items into categories, like baking tools and ingredients, to get a sense of what I'm working with. Then, I assign a home for each group, maximizing space by using vertical storage and labeling containers so I can easily find what I need.
Next, I focus on organizing baking tools, decluttering drawers and creating a system that makes sense for my baking workflow. By doing so, I'll be able to whip up a cake in no time - or at least, without digging through a mess!
Streamlining Bulk Ingredient Storage
Clear storage bins and labels are essential for streamlining bulk ingredient storage, allowing me to quickly identify and access the flour, sugar, and other staples I need to whip up a recipe. To maximize space and efficiency, I opt for sliding containers that can be easily pulled out when I need to scoop or pour ingredients. Efficient labeling is also key, ensuring I can quickly identify what's inside without having to dig through containers.
| Container | Features |
|---|---|
| IKEA 365 Dry Food Jars | Clear plastic, airtight, and stackable |
| IKEA VARIERA storage boxes | Large and small sizes, easy to label |
| OXO Good Grips POP Containers | Sliding containers for easy access |
| Chalkboard sticker labels | Easy to write and erase labels |
Centralizing Measuring Cups and Tools
My measuring cups, spoons, and spatulas find a dedicated home in a wide drawer above my bulk ingredients, where they're easily accessible and ready for action when I need them. To keep them organized, I use drawer dividers to separate items by type, making it easy to grab what I need in a flash.
Here are some additional tips to centralize your measuring cups and tools:
-
Consider hanging racks for frequently used items, like my trusty silicone spatula.
-
Store less frequently used items, like specialty measuring cups, towards the back of the drawer.
-
Keep the most-used items at the front and center of the drawer for easy access.
With these simple tips, I can whip up a batch of my famous chocolate chip cookies in no time!
Taming Cluttered Small Baking Items
How do I prevent small baking items like sprinkles, decorations, and add-ins from getting lost in the shuffle and turning my baking space into a chaotic mess? I've learned that the key is to maximize cabinet space with a combination of vertical and horizontal organization. I use stackable containers with clear labels to store small items, making it easy to find what I need at a glance.
| Labeling Solutions | Maximizing Cabinet Space |
|---|---|
| DIY: Chalkboard sticker labels | Vertical: Stackable containers |
| Pre-made: White paint pen labels | Horizontal: Shelf dividers |
| Adjustable shelves for flexibility |
Frequently Asked Questions
How Do I Keep Labels From Peeling off Containers Over Time?
The pesky label peeling problem! It's like watching my carefully curated baking supply system crumble before my eyes.
To avoid this, I make sure to choose labels with excellent adhesive strength. I'm talking high-quality stickiness that'll withstand even the most enthusiastic of kitchen dance parties.
For extra durability, I add a clear coat of varnish to seal the deal. With these tricks up my sleeve, my labels stay put, and my baking supply system remains a well-oiled machine.
Can I Use Glass Containers for Storing Baking Supplies?
I'm curious about using glass containers for storing baking supplies, and I'm happy to report that they're a great option! Glass alternatives like Mason jars or Pyrex containers are perfect for storing dry goods, and they're airtight, which keeps ingredients fresh. Plus, they're easy to clean and won't absorb odors or flavors.
I'd choose glass over plastic any day - it's a stylish and practical choice for my baking supplies!
Will OXO Containers Fit in My Existing Cabinet Space?
I'm wondering if those OXO containers will squeeze into my existing cabinet space. I'm measuring my cabinet shelves, taking note of the width, height, and depth.
I'm considering shelf adjustments, like removing or repositioning them to fit the containers snugly. If needed, I'll swap out shelves for ones with more vertical space.
With these tweaks, I'm confident I can make the OXO containers work, and my baking supplies will be organized in no time!
How Often Should I Clean and Dust My Baking Supply Storage?
Honestly, I'm guilty of letting dust and crumbs accumulate in my baking supply storage.
To avoid this, I've started incorporating daily habits like quickly wiping down containers after use and doing a weekly tidy.
For a deeper clean, I schedule a seasonal refresh every 3-4 months to tackle any stubborn messes.
This keeps my baking space organized, functional, and - dare I say - sparkling!
Can I Customize the Size of IKEA Storage Boxes for My Needs?
As I stand in my kitchen, surrounded by chaos, I wonder: can I customize IKEA storage boxes to fit my baking supply needs?
The answer is yes! With a few DIY hacks, I can trim the boxes to size using a utility knife or a miter saw. Measurement tips: measure twice, cut once, and use a level to guarantee straight cuts.
It's time to get creative and make those boxes fit my baking space like a glove!
Related Posts
-

What's the Secret to Organizing Digital Clutter?
You're tired of feeling overwhelmed by digital mess, wasting time searching for lost files and drowning in a sea of d...
-

Smart Storage for Small Kitchen Appliances
You can optimize your small kitchen's functionality by implementing smart storage solutions that efficiently stash sm...

