
Revamp Your Workspace: DIY Desk Organizer Guide
Transform your workspace with a custom DIY desk organizer that combines functionality and style. Begin by gathering essential materials, including sturdy chipboard sheets, precision dies, and crafting staples. Next, cut and shape the chipboard into a unique base that incorporates clever storage solutions and reflects your personal style. Add intricate details and custom flourishes using dies and decorating techniques to make it truly one-of-a-kind. With a little creativity, you can create a visually appealing hub that streamlines your workflow and boosts creativity, setting the tone for a more productive and inspired work session.
Key Takeaways
• Gather essential materials, including chipboard sheets, precision dies, and crafting staples, that fit your workspace aesthetic.
• Cut and construct the base with attention to layout, compartments, and flow, adding personality with unique paint techniques.
• Customize the organizer with precision dies and decorating techniques to reflect individual style and personality.
• Add custom flourishes and intricate details using various decorating techniques and dies to elevate the design.
• Combine clever storage solutions with personal style to create a unique and functional desk organizer that boosts creativity and productivity.
Gathering Essential Materials
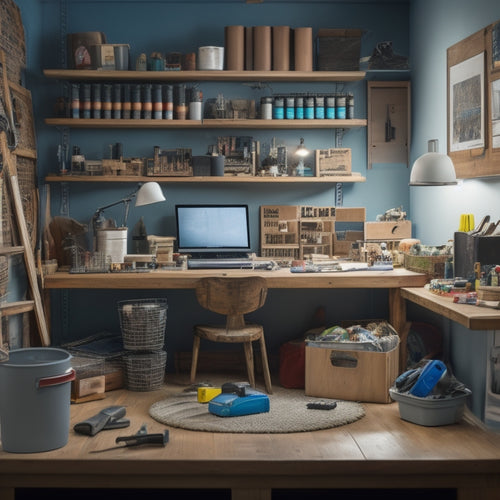
Gather around your workspace a selection of essential materials, including sturdy chipboard sheets, precision dies, and other crafting staples, to lay the foundation for a functional and visually appealing DIY desk organizer.
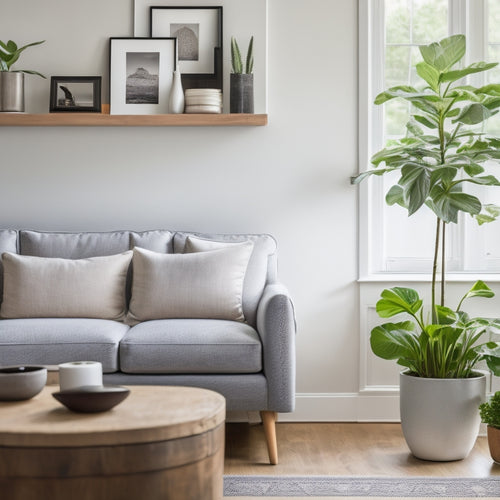
When it comes to material selection, choose a palette that inspires your design inspiration, whether it's bold and bright or soft and subtle. Consider color coordination that complements your workspace aesthetic, ensuring your organizer blends seamlessly into its new home.
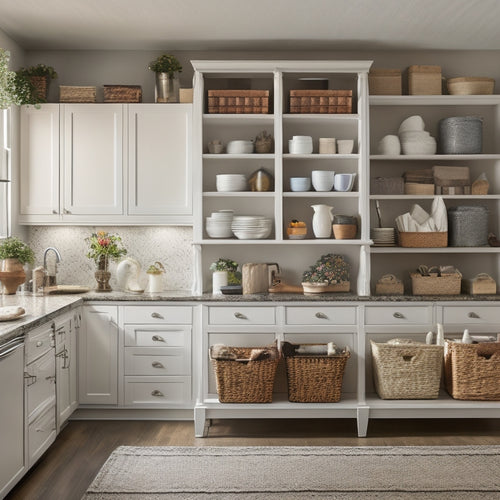
Think beyond the surface level and plan for clever storage solutions that will keep your workspace tidy and organized. With these essential materials at your fingertips, you'll be well on your way to creating a bespoke desk organizer that's both beautiful and functional.
Building the Organizer Base
With your materials carefully curated and a clear vision for your DIY desk organizer, begin constructing the base by cutting out the chipboard sheets into the desired shape and size, using the precision dies to achieve clean, exact edges. This is where your project starts to take shape – literally!
As you assemble the base, keep in mind the organization tips that will make your workspace a haven of productivity. Think about the layout, the compartments, and the flow of your desk organizer. Once the base is built, it's time to add some personality with paint techniques that will make your DIY project truly unique.
A distressed finish or a pop of color can elevate your workspace from drab to fab. Get creative, and have fun with it!
Customizing With Dies and Details
Your chipboard base now serves as a blank canvas, awaiting the intricate details and custom flourishes that will transform it into a one-of-a-kind desk organizer.
This is where the magic happens! With a vast array of decorating techniques at your disposal, the possibilities are endless. Dies, in particular, offer a world of personalization options. Use Regular Tag & Gears Dies to add intricate cut-outs, or experiment with other shapes and patterns to create a truly unique design.
As you add your personal touches, remember to have fun and get creative! The result will be a desk organizer that not only functions beautifully but also reflects your personality and style.
Frequently Asked Questions
How Do I Clean and Maintain My New Desk Organizer?
To keep your workspace sparkling, establish a dusting schedule to tackle those pesky particles. Set aside 10 minutes daily to wipe down surfaces with a microfiber cloth.
Make it a habit by incorporating it into your daily routine, like brushing your teeth or sipping morning coffee. As you dust, imagine the satisfaction of a clutter-free zone, where creativity flows freely.
Can I Customize the Organizer for a Left-Handed Person?
The eternal plight of the lefty! Rest assured, we have everything you need.
When it comes to customizing your desk organizer, ergonomic considerations are key. For left-handed individuals, a reversed layout can make all the difference. Simply flip the design to accommodate your dominant hand, ensuring comfortable reach and workflow.
With a little creativity, your lefty challenges will disappear, and your workspace will become a haven of productivity and style.
What Is the Recommended Weight Capacity for the Shelves?
Imagine a majestic bridge, sturdy and strong, carrying the weight of creativity across the chasm of chaos.
Similarly, our DIY desk organizer's shelves are engineered to bear the load of your most prized possessions.
When it comes to Shelf Durability, we've carefully considered Load Limits to guarantee a sturdy foundation for your workspace essentials.
Rest assured, our shelves can support up to 10 pounds of weight, giving you peace of mind to focus on your next masterpiece.
Are the Materials Used Eco-Friendly and Sustainable?
When it comes to eco-friendliness, rest assured! Our materials are carefully selected with sustainable sourcing in mind. We choose eco-friendly alternatives whenever possible, ensuring our products not only look great but also contribute to the planet.
From responsibly sourced chipboard to recyclable packaging, we're dedicated to minimizing our environmental footprint.
Can I Use This DIY Project as a Gift for Someone Else?
When considering gifting a DIY project, ask yourself: does it exude thoughtfulness and personalized touches?
A handmade desk organizer can be a unique and meaningful present, especially when tailored to the recipient's style and preferences.
Incorporate their favorite colors, patterns, or a special message to make it extra special.
This attention to detail will transform your gift from generic to genuinely caring, showcasing your effort and consideration.
Related Posts
-
3 Essential Tips to Boost Home Storage Capacity
You're one step away from freeing yourself from clutter chaos! To boost your home storage capacity, start by purging ...
-
What Makes Effective Online DIY Home Organization Courses?
You're about to reveal the secrets to transforming your living space into a serene and functional oasis, and it all b...
-
7 Essential Android Apps for a Clutter-Free Home
You're just a few taps away from transforming your cluttered space into a serene and organized oasis. Start by gamify...


