Step-by-Step Guide to Crafting Fabric Bin
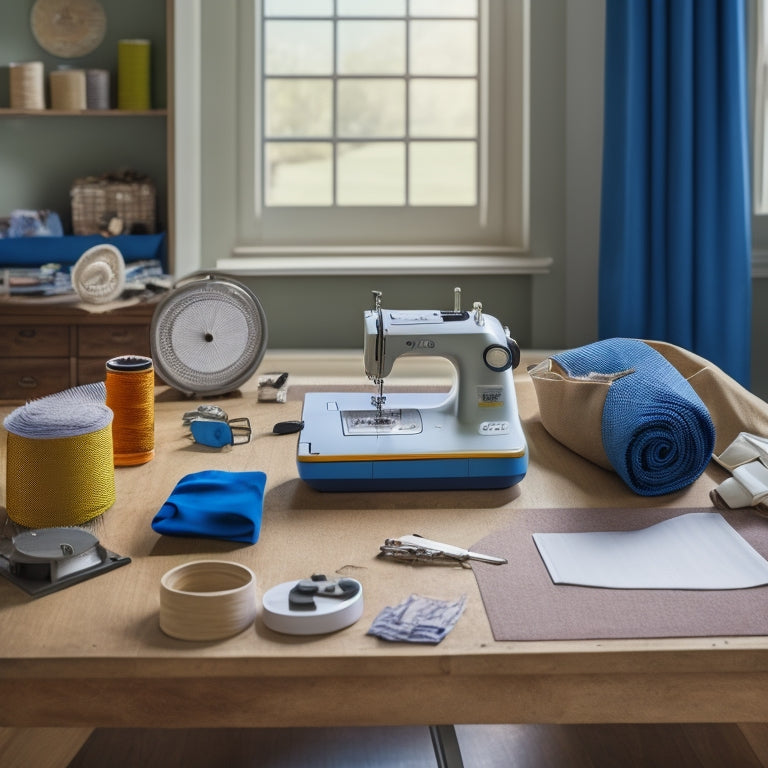
I start by gathering essential materials, choosing high-quality fabrics for durability and considering the intended use for a functional and visually appealing design. Next, I cut Fabric A and B into precise squares and rectangles, preparing hard fusible interfacing for assembly. I assemble the exterior and lining pieces with batting and interfacing, sewing side seams and pressing crease marks for structure. After constructing the bin, I create a folded top edge and build a sturdy base using high-quality fabrics. Now, I'm ready to share the nitty-gritty details of each step - let's get crafty and create a beautiful fabric bin that'll keep your storage needs organized and stylish!
Key Takeaways
• Gather essential materials like fabrics, interfacing, thread, batting, and webbing to ensure durability and functionality.
• Cut fabric and interfacing accurately to ensure a professional finish, considering fabric selection for coordination and structure.
• Assemble the fabric bin by sewing exterior and lining pieces with batting and interfacing, and attach a sturdy handle for easy lifting.
• Create a clean finish by pressing raw edges of the lining under, folding excess lining over the bin, and topstitching close to the edge.
• Build a sturdy base by sewing two squares together, inserting a hard fusible square, and topstitching around the edges for strength and security.
Gathering Essential Materials
I start by gathering essential materials, including fabrics, interfacing, thread, batting, and webbing, to make sure I've everything needed to craft a sturdy and functional fabric storage bin.
When it comes to fabric selection, I like to choose fabrics that not only match my personal style but also complement the room's décor. My top shopping tip is to opt for high-quality fabrics that can withstand the weight and wear of storage.
For fabric storage and organization ideas, I consider the bin's intended use and the items I'll be storing. Will it be for sewing supplies, toys, or linens? By thinking ahead, I can create a bin that's both functional and visually appealing.
With all my materials in hand, I'm ready to proceed to the next step: cutting my fabric and interfacing.
Cutting Fabric and Interfacing
With all materials gathered, I'm ready to move on to the next step: cutting Fabric A and B into precise squares and rectangles, as well as preparing the hard fusible interfacing for assembly.
I carefully cut one 36 x 36 square from each fabric, ensuring accurate measurements for a professional finish.
Next, I cut six 9-inch squares from the hard fusible interfacing, which will provide structure and stability to my fabric bin.
I take a moment to appreciate my fabric selection, loving how the colors of Fabric A and B coordinate perfectly.
Now, I'm excited to apply my sewing techniques and see my fabric bin take shape. With precise cutting and careful interfacing application, I'm confident my bin will be both functional and stylish.
Constructing the Fabric Bin
Sixteen precisely cut pieces, including the exterior and lining squares, batting, and interfacing, are now ready to be assembled into a sturdy fabric storage bin. I'm excited to see my fabric organization project take shape!
Here's what I'll do next:
-
Sew side seams on the exterior and lining pieces, making sure to press those crease marks for structure
-
Fuse the hard fusible squares at the bottom and sides, then insert and fuse the remaining ones
-
Attach and secure the handle, making it easy to lift and move my storage bin
-
Add the batting for extra stability and a professional finish
-
Finally, I'll place the base at the bottom of the bin, securing it in place for a sturdy storage solution
Creating the Folded Top Edge
To achieve a clean finish, I'll press the raw edges of the lining under by about 1/4 inch, then fold the excess lining over the bin, making sure to align the folded edge with the top of the exterior fabric. This creates a crisp, professional-looking folded top edge that's essential for a polished fabric bin aesthetic.
Next, I'll pin the folded edge into place and topstitch close to the edge using a larger stitch length for added security and a professional finish. Topstitching techniques can make or break the look of your bin, so take your time and get it right!
With the folded edge in place, I can now consider trim options to add a pop of color or texture to my bin.
Building the Sturdy Base
I begin building the sturdy base by sewing two 10-inch squares right sides together, creating a solid foundation that will provide stability to my fabric bin. This base reinforcement is essential for maintaining structural stability, guaranteeing my bin can hold its shape and contents.
To add an extra layer of security, I insert a 9-inch hard fusible square and topstitch around the edges. This not only adds strength but also gives my bin a professional finish.
Here are some key points to keep in mind when building the sturdy base:
- Use high-quality fabrics that can support the weight of the bin's contents
- Press the seams flat to ensure a crisp, clean finish
- Make sure to leave a small opening to turn the base right side out
- Use a walking foot or Teflon foot to help guide the fabric smoothly
- Take your time and work slowly to avoid any mistakes or puckering
Frequently Asked Questions
Can I Use Other Types of Interfacing for the Fabric Bin?
So, I'm wondering if I can get creative with the interfacing for my fabric bin. The thing is, I don't have hard fusible interfacing on hand.
Can I use other types? Well, yes! I can explore fusible options like HeatnBond or Steam-A-Seam.
If I want to skip fusibles altogether, I can try stabilizing alternatives like Pellon or Vilene. These will still give my bin the structure it needs without the fuss of fusing.
How Do I Ensure the Bin's Structure Stays Stable Over Time?
Building a sturdy fabric bin is like constructing a tiny skyscraper - it requires a solid foundation!
To guarantee my bin's structure stays stable over time, I make sure to distribute the weight evenly by filling it with items that don't shift around.
I also consider reinforcement options like adding extra interfacing or stabilizers to the bottom and sides.
Can I Add Decorative Elements to the Fabric Bin's Design?
As I'm crafting my fabric bin, I wonder, can I add some flair? Absolutely!
I can embellish my bin with ribbon embellishments, adding a touch of elegance. Or, I can get creative with fabric appliques, adding a playful twist.
The key is to balance my design elements so they don't overwhelm the bin's functionality.
With a little imagination, my storage bin can be both functional and fashionable!
Is It Necessary to Use a Specific Type of Fabric for the Bin's Exterior?
When it comes to choosing fabric for my bin's exterior, I don't think I need to stick to a specific type.
However, I do consider fabric weight and texture - it matters! A sturdy fabric with a smooth texture will give my bin a crisp look, while a lighter fabric with a bit of texture adds a playful touch.
Ultimately, it's about finding a fabric that fits my style and serves its purpose.
How Do I Clean and Maintain the Fabric Storage Bin?
The joys of maintaining my fabric storage bin!
When it comes to stain removal, I swear by a gentle detergent and cold water - no harsh chemicals for me!
For odor control, I add a few dryer sheets or a sprinkle of baking soda to keep things fresh.
And, let's be real, a quick vacuum or spot clean every now and then doesn't hurt either.
With these simple tricks, my bin stays looking and smelling like new!
Related Posts
-

Transform Your Space: 5 Online Courses to Help
Ready to transform your space from cluttered to calm? Start with mastering home organization fundamentals, like declu...
-
Simplify and Streamline Your Small Entryway Chaos
You're ready to tame the chaos in your small entryway! Start by gathering three labeled boxes to categorize clutter, ...

