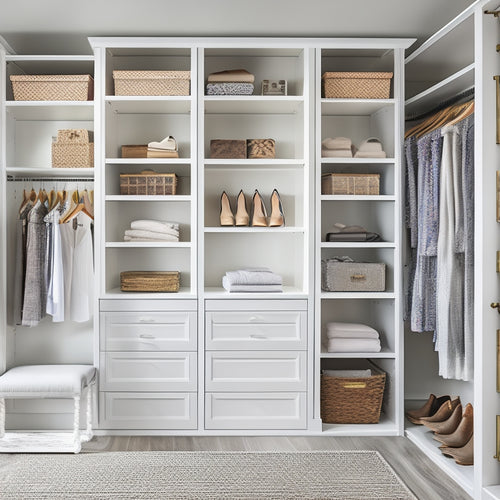
Transform Your Space With DIY Storage Bins
Share
You can turn cluttered areas into organized oases by creating your own DIY storage bins that fit your unique style and needs. Start by gathering essential materials like foam interfacing, fabric, and bias tape. Construct your bin by preparing a foam base, covering it with fabric, and attaching sides. Add a lining for a polished finish and master bias binding techniques for a professional touch. With a few creative embellishments, you'll have unique storage bins that not only reduce clutter but also reflect your personal style. Now, take the next step to discovering the endless possibilities of DIY storage solutions.
Key Takeaways
• DIY storage bins help reduce clutter and increase organization in your space.
• Customizable storage solutions fit your unique needs and style.
• Repurposing materials promotes sustainability and reduces waste.
• Adding a personal touch with custom fabrications makes your space truly yours.
• Creating your own storage bins gives you control over your environment.
Crafting Storage Bin Essentials
Gather your materials, including foam interfacing scraps, whisper thin fusible interfacing scraps, fabric, bias tape, and non-woven materials like leather or cork fabric, to start crafting your storage bin essentials.
When it comes to fabric selection, choose prints or solids that fit your decor style, and don't be afraid to mix and match. For interfacing choices, foam provides structure, while whisper thin fusible adds stability.
Consider storage bin sizes that fit your space and organization needs – from small to large, you'll want a variety to keep clutter at bay. Remember, these bins are for functionality and style, so think about the items you'll store and the look you're going for.
With your materials and plan in place, you're ready to start constructing your storage bin masterpieces!
Building Your Storage Bin
To begin building your storage bin, prepare the base circle by cutting a foam circle and trimming it to the desired size for the sides of your bin.
Now, it's time to get creative with your material options! You can use foam interfacing scraps, whisper thin fusible interfacing scraps, or even non-woven materials like leather or cork fabric.
Here are some essential steps to keep in mind:
-
Cover the foam with fabric for a stylish look
-
Construct the bin sides and attach exterior fabric
-
Sew short end seams and make snips for a clean finish
- Attach sides to the base and add a lining for a polished look
Mastering Bias Binding Techniques
Now that you've constructed the bin sides and attached the exterior fabric, it's time to focus on adding a professional finish with bias binding. Mastering bias tape mastery is key to achieving creative finishes that elevate your storage bin game.
To perfect your bias binding skills, make sure to press your tape to create a crisp fold, and then hand-sew it in place using a whipstitch or a blind stitch. Don't be afraid to get creative with unique accents like contrasting thread or decorative stitches.
As you perfect your hand stitching, you'll add a touch of sophistication to your bins. With bias binding, the possibilities are endless, and your storage bins will go from basic to brilliant!
Finishing Touches and Embellishments
You're ready to add the final flourishes to your storage bin, and it's time to focus on the details that will make it truly special. This is where you get to let your personality shine and add those extra touches that'll make your bin stand out.
Here are some ideas to get you started:
-
Add some creative stitching to give your bin a unique texture and visual interest.
-
Use leather accents to add a touch of sophistication and elegance.
-
Add a fun label or tag to give your bin a personal touch.
- Experiment with different embellishments like ribbons, bows, or appliques to add a playful touch.
The Benefits of DIY Storage
Your DIY storage bins offer a multitude of benefits, from reducing clutter and increasing organization to providing a sense of accomplishment and pride in your handiwork.
By creating your own custom fabrications, you can tailor your storage solutions to fit your unique needs and style. This creative organization approach not only declutters your space but also adds a personal touch.
Plus, making your own storage bins allows you to repurpose materials, reducing waste and promoting sustainability. As you fill your bins with organized goodies, you'll feel a sense of satisfaction and control over your environment.
Frequently Asked Questions
Can I Use Other Materials Instead of Foam Interfacing for the Bin's Structure?
You're wondering if you can ditch the foam interfacing for something else, right?
Yes, you can! Consider plywood alternatives or cardboard reinforcement to give your storage bin some extra oomph. Just keep in mind that these materials will change the look and feel of your bin.
Plywood will add a rustic touch, while cardboard will make it more eco-friendly. Experiment and see what works best for you!
How Do I Ensure My Storage Bin Is Square and Not Lopsided?
The age-old question: how do you guarantee your storage bin from looking like a wonky, lopsided mess? Well, wonder no more!
To guarantee your bin is square and sturdy, you'll want to employ some trusty measuring techniques. Double-check those corners, friend, and don't be afraid to add some extra reinforcement to keep things shipshape.
With a little patience and TLC, you'll be well on your way to crafting a storage bin that's as functional as it's fabulous.
What's the Best Way to Clean and Maintain My DIY Storage Bins?
You've finally got your DIY storage bins in place, and now it's time to keep them looking fab!
To maintain your bins, start with regular dusting to prevent dirt buildup.
Then, implement a label organization system to keep contents tidy and easily accessible.
This combo will keep your bins looking fresh and functional. Trust us, your future self (and your stuff) will thank you!
Are There Any Safety Precautions I Should Take When Working With Hot Glue?
You're about to start on a hot glue adventure, aren't you? Imagine yourself as a master crafter, wielding a hot glue gun like a magic wand.
But, before you begin conjuring up DIY magic, remember to prioritize safety. Be cautious of Glue Hazards, like burns and skin irritation. To prevent burns, use a low-temperature glue gun, and always keep a bowl of cold water nearby. Wear protective gear, like gloves and goggles, to shield yourself from splatters.
Now, go forth and craft with caution!
Can I Make Storage Bins in Different Shapes, Like Rectangles or Hexagons?
You're thinking outside the box - or in this case, the circle! While circles are easy to work with, you can definitely experiment with other shapes like rectangles or hexagons.
Just keep in mind that shape limitations might arise when working with foam and fabric. Geometric patterns can get tricky, but with patience and practice, you can master them.
Don't be afraid to try new things and adjust your design as needed. Happy crafting!
Related Posts
-

Maximizing Small Closets With Custom Shelving Solutions
You're tired of feeling like your small closet is cramped and cluttered, but with custom shelving solutions, you can ...
-

Organize Your Digital Photos With These Online Courses
You've accumulated thousands of digital photos, and finding a specific one has become overwhelming. It's time to orga...
-

Simplify Your Space: Downsizing Tips for Seniors
You're ready to simplify your space and create a more peaceful living environment. Start by gathering boxes, bins, an...


